Banana & Blueberry Almond Tart
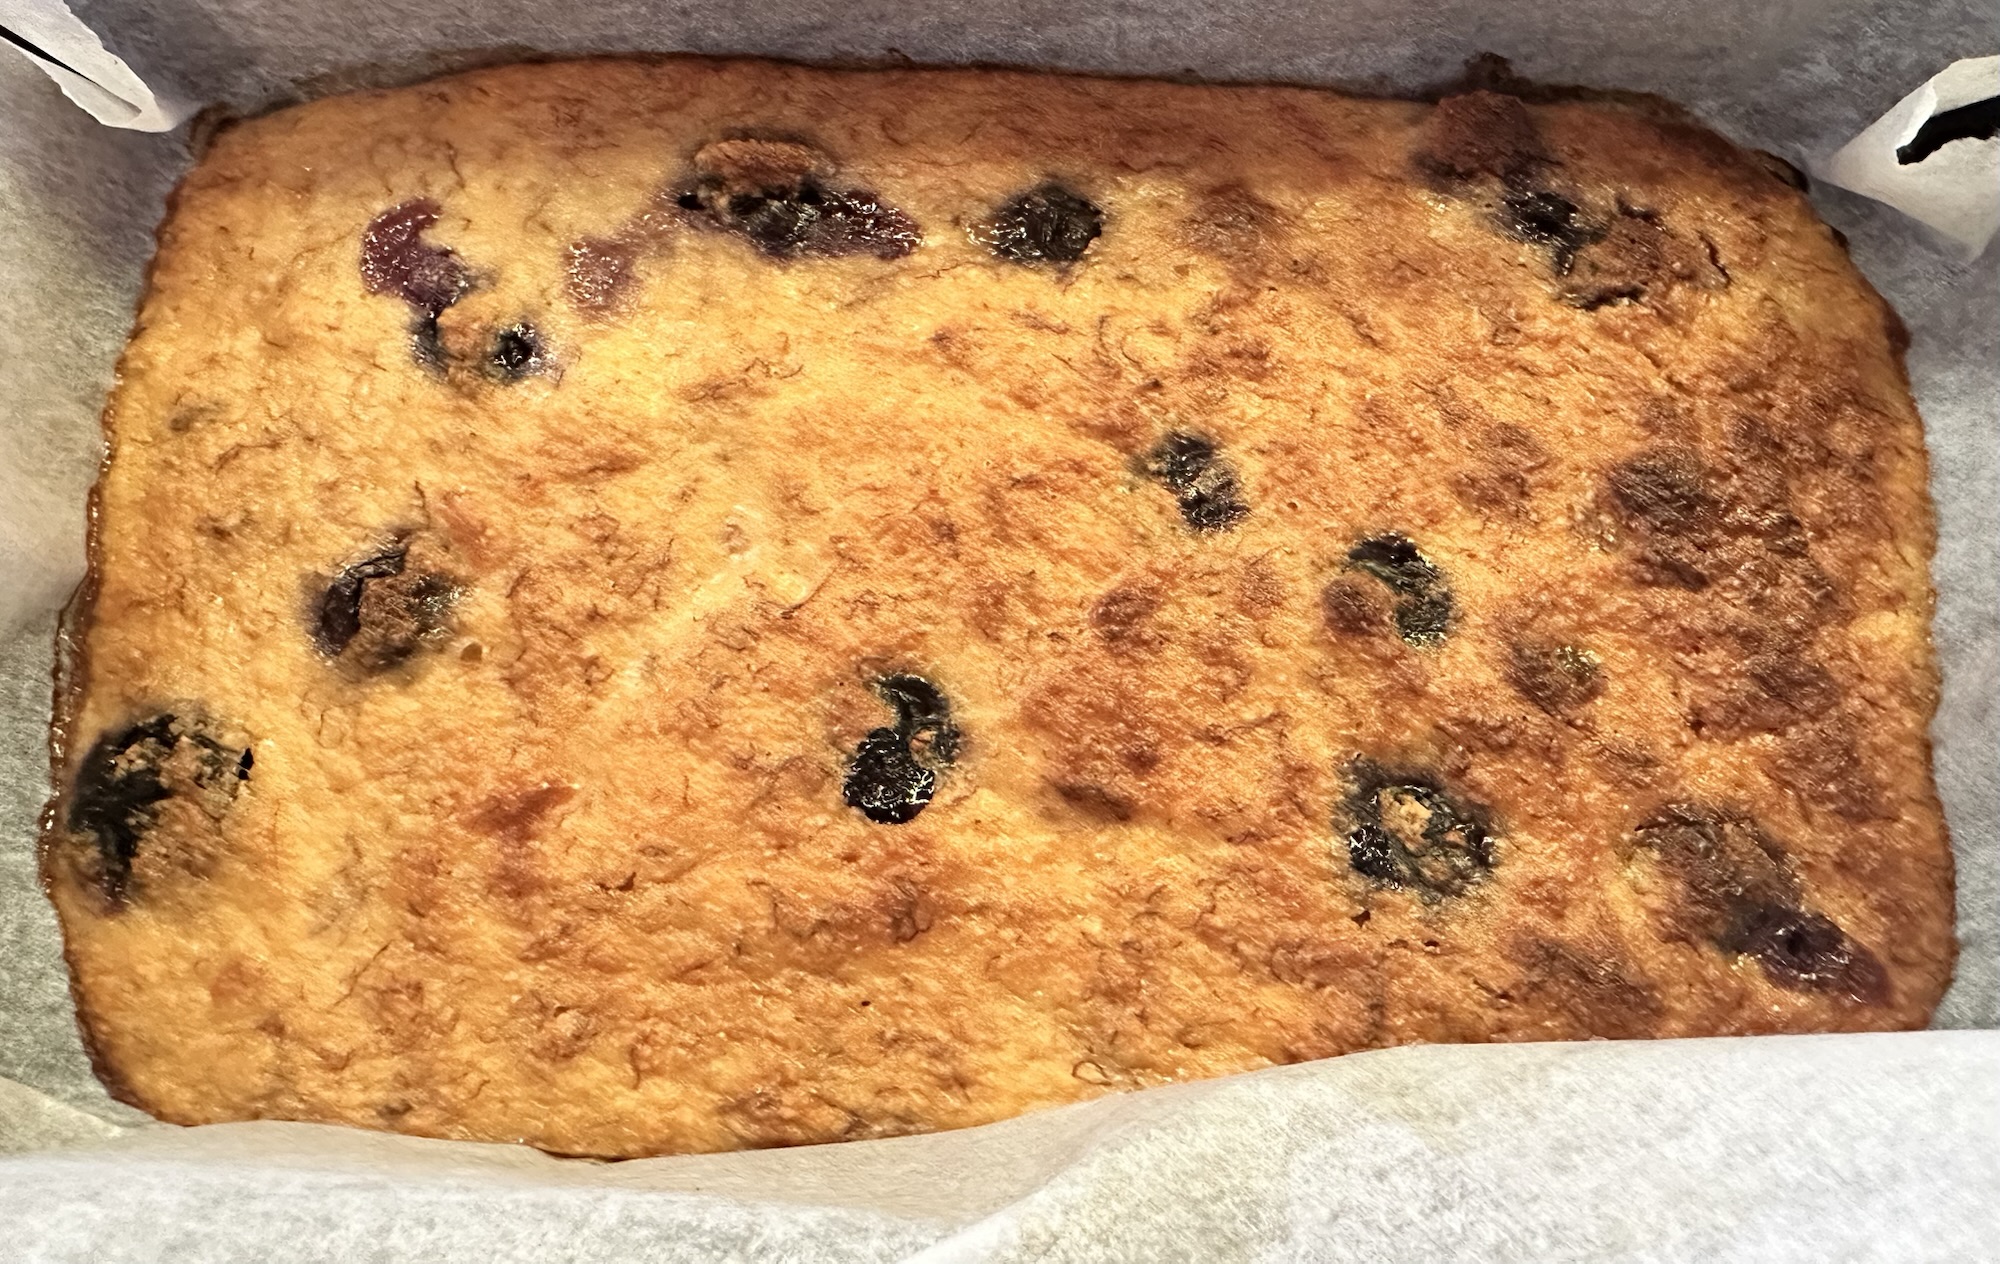
If you’re looking for a naturally sweet, wholesome bake that comes together in minutes, this Banana & Blueberry Almond Tart is the perfect choice. Made with simple pantry ingredients, it’s soft, lightly sweet, and bursting with juicy blueberries in every bite. Naturally gluten-free and refined sugar–free (if you choose), this tart makes a nourishing breakfast, snack, or light dessert.
Ingredients
- 1 ripe banana
- A handful of fresh blueberries
- 1 large egg
- ⅓ cup almond meal
- ¼ cup coconut sugar (optional)
Method
- Preheat your oven to 160°C (320°F) and line a small loaf tin with baking paper.
- In a mixing bowl, mash the ripe banana until smooth and creamy. Add the egg and whisk with a fork until well combined.
- Stir in the almond meal and gently fold through the blueberries.
- Add the coconut sugar (if using) and mix until the batter is evenly combined.
- Pour the mixture into the prepared loaf tin and smooth the top.
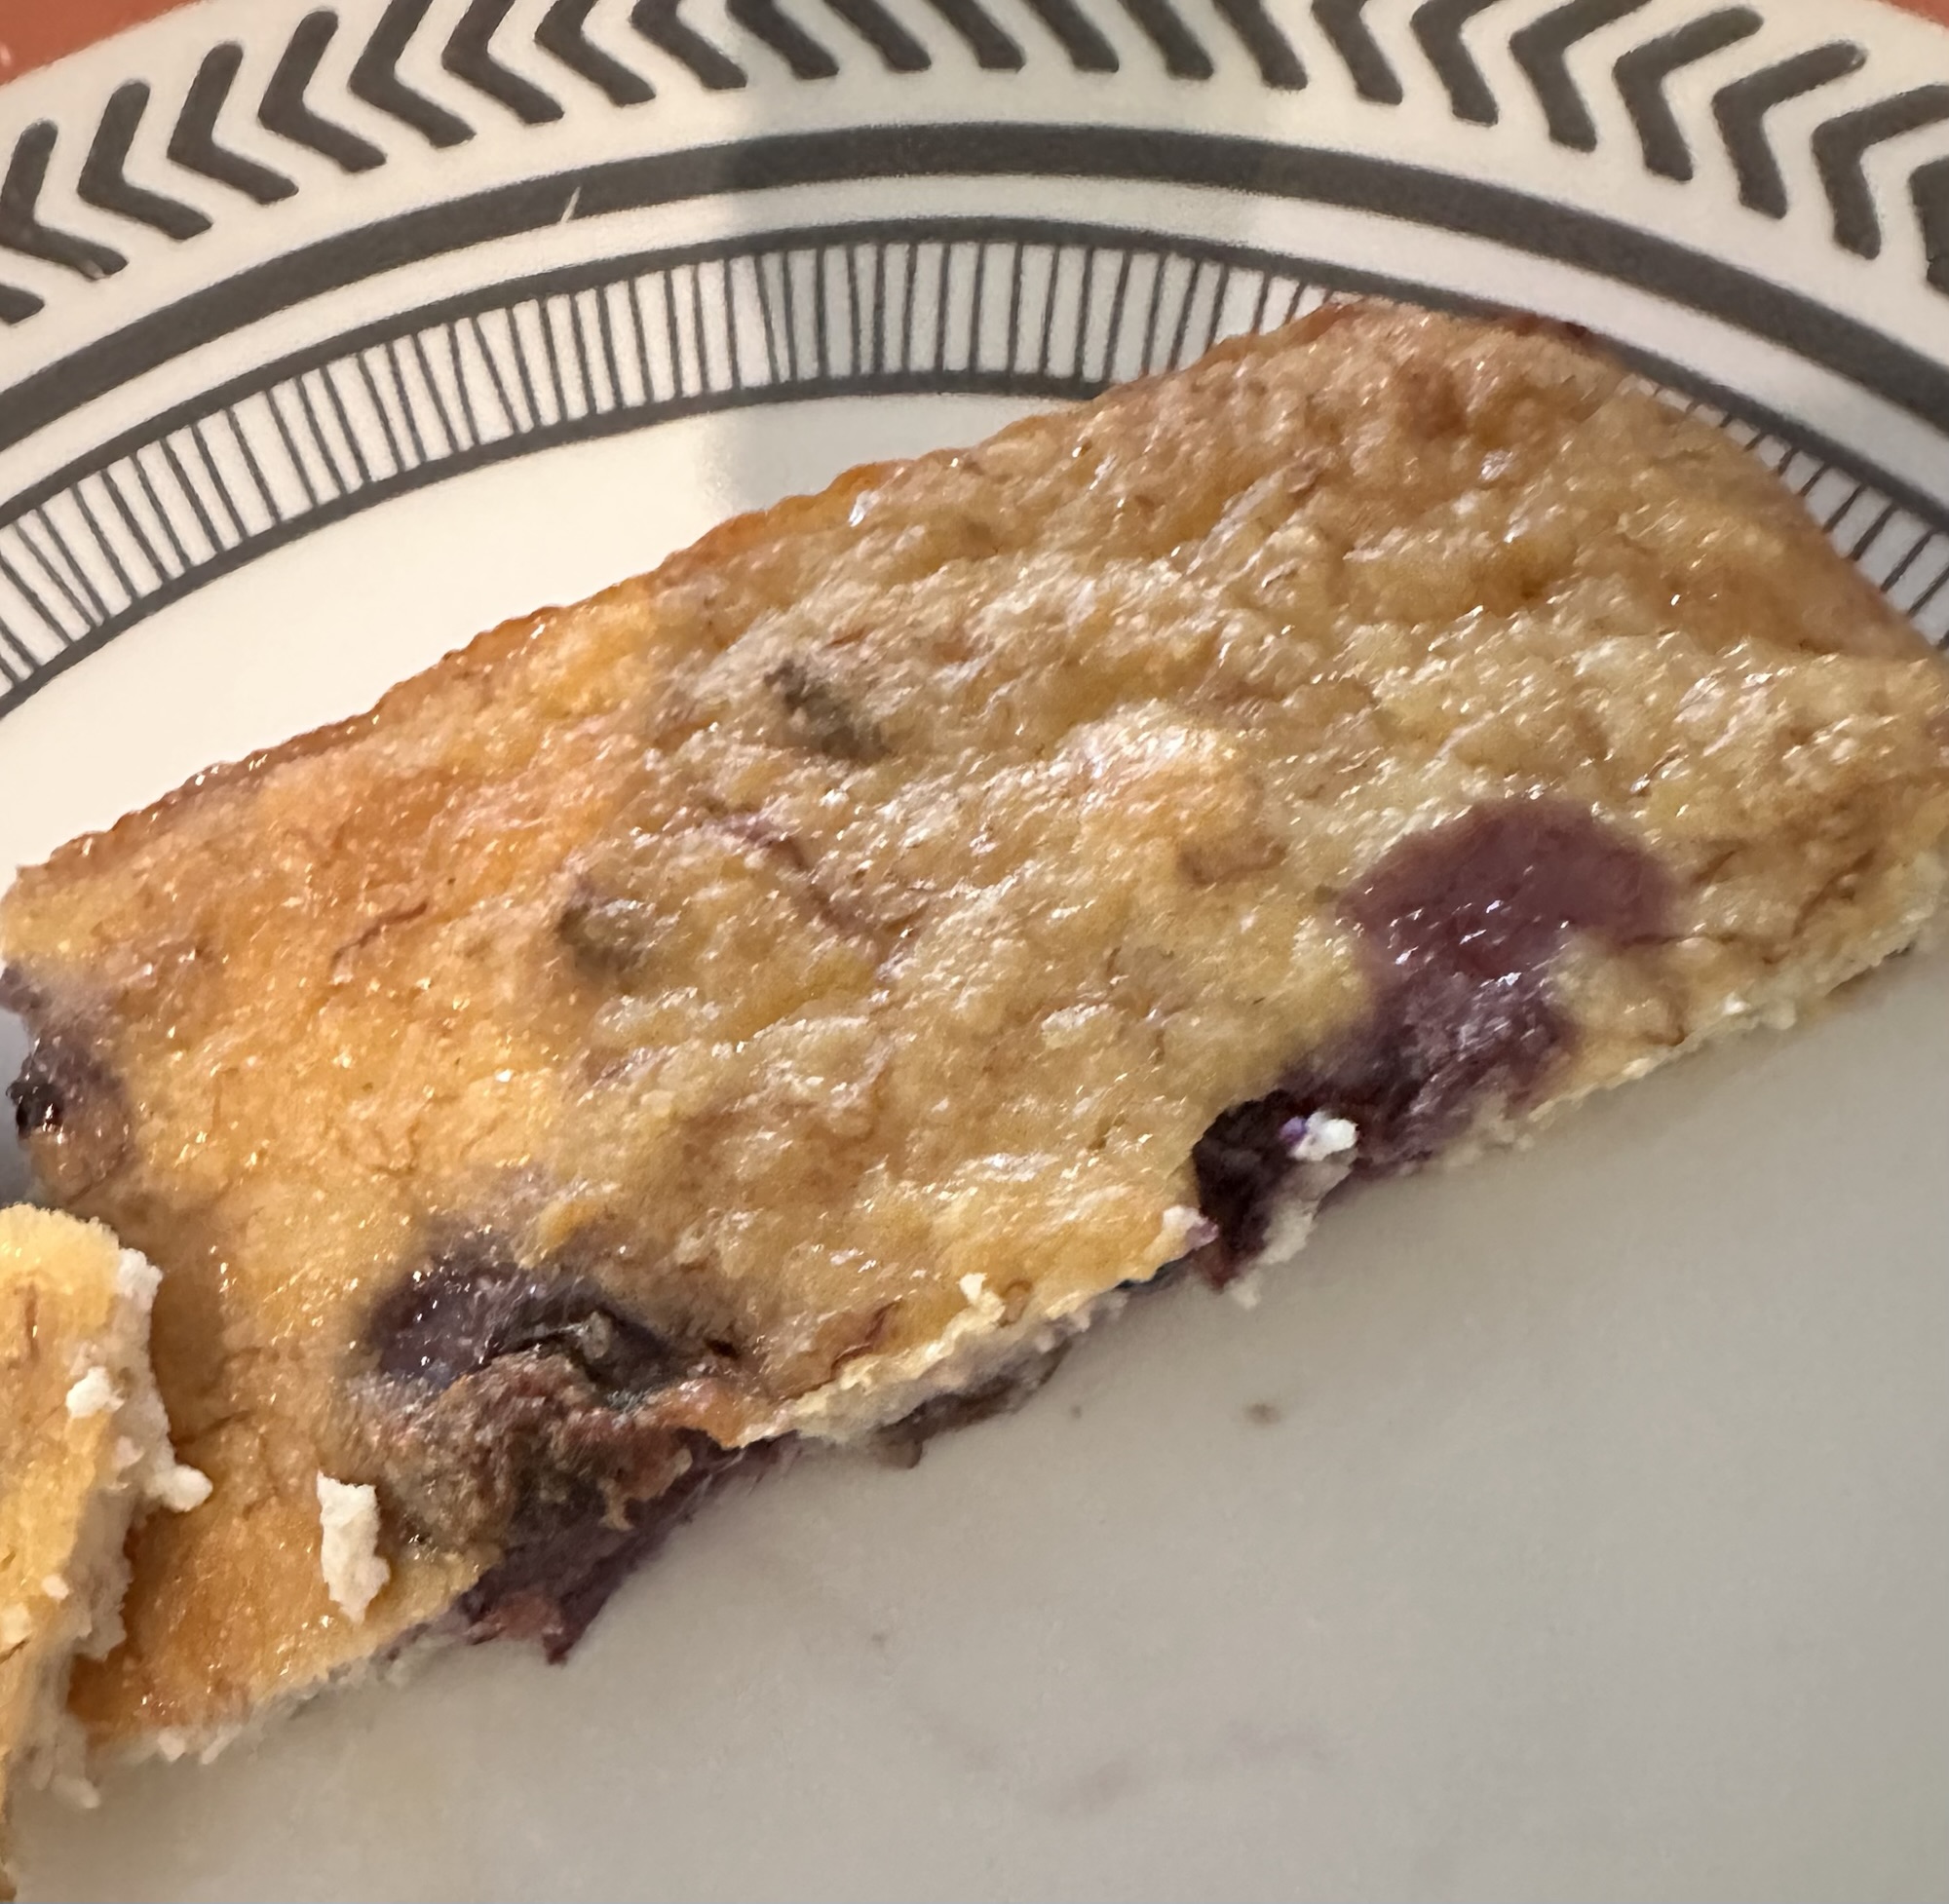
- Bake for 10–15 minutes, or until lightly golden and a skewer inserted into the center comes out clean.
- Allow to cool slightly before slicing and serving.
Tips & Substitutions
- For a refined sugar–free option, substitute the coconut sugar with rice malt syrup.
- Use very ripe bananas for natural sweetness and optimal texture.
- This tart is best enjoyed fresh but can be stored in an airtight container for up to two days.
Why You’ll Love It
Made with almond meal and antioxidant-rich blueberries, this simple tart is packed with nourishing ingredients and is often enjoyed as part of an anti-inflammatory style of eating. It’s proof that wholesome baking can still feel indulgent.
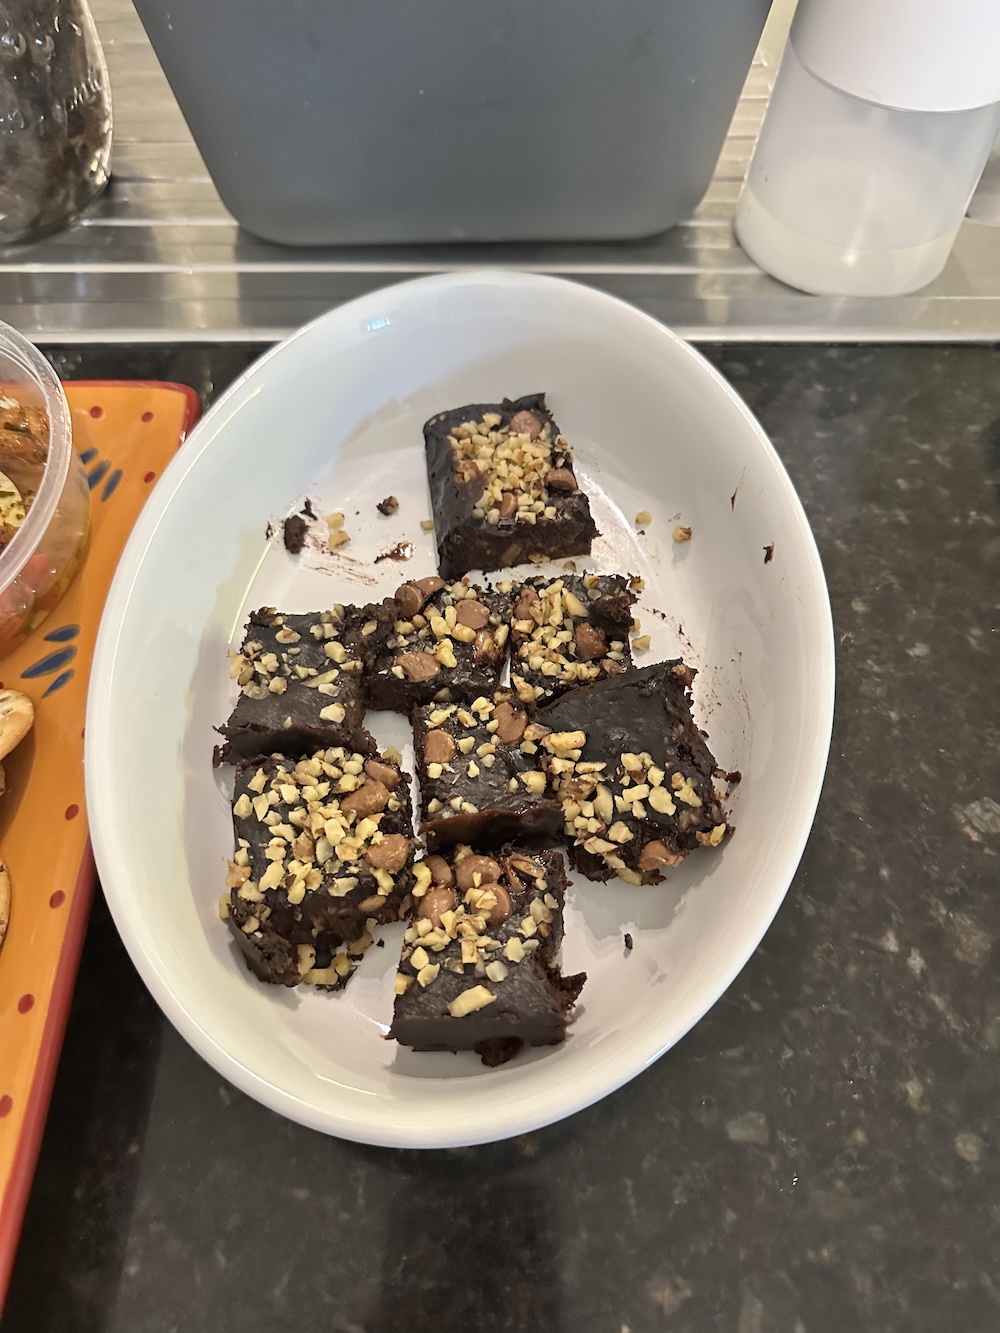
Healthy Brownies
Today I have a delicious Brownie recipe that is also very healthy, moist and tasty.
INGREDIENTS:
- 3 bananas
- 1 egg
- ½ cup almond butter or cashew butter
- ¼ cup cocoa powder
- A handful of dark chocolate chips for the batter
- Another handful to decorate
- Crushed walnuts
Update: I bought some dark chocolate in the baking section of Coles supermarket and put chunks in the batter without mixing too much. The finish? A brownie with melted chocolate inside.
METHOD:
Line a square pan with baking paper and set aside.
Preheat oven to 180 degrees C.
Crush the bananas in a large mixing bowl. Use a fork and press the bananas until there are no more lumps.
Add the egg, the almond butter and the cocoa powder and mix well with a wooden spoon. Add the dark chocolate chip but don’t mix too hard. You want them to stay as a whole in the batter.
Pour batter into your pan and decorate with the chocolate chip cookie on top with crushed walnut.
Bake for about 20 minutes until the top looks set but check with a skewer first to see if it is dry inside before removing from oven.
Eat with some vanilla ice cream if you wish.
Note: the bananas can be replaced by a cup of gluten-free flour but add 2 eggs to the batter.
Let us know in the comments below how it turned out for you.
Happy eating.
Apple Pie
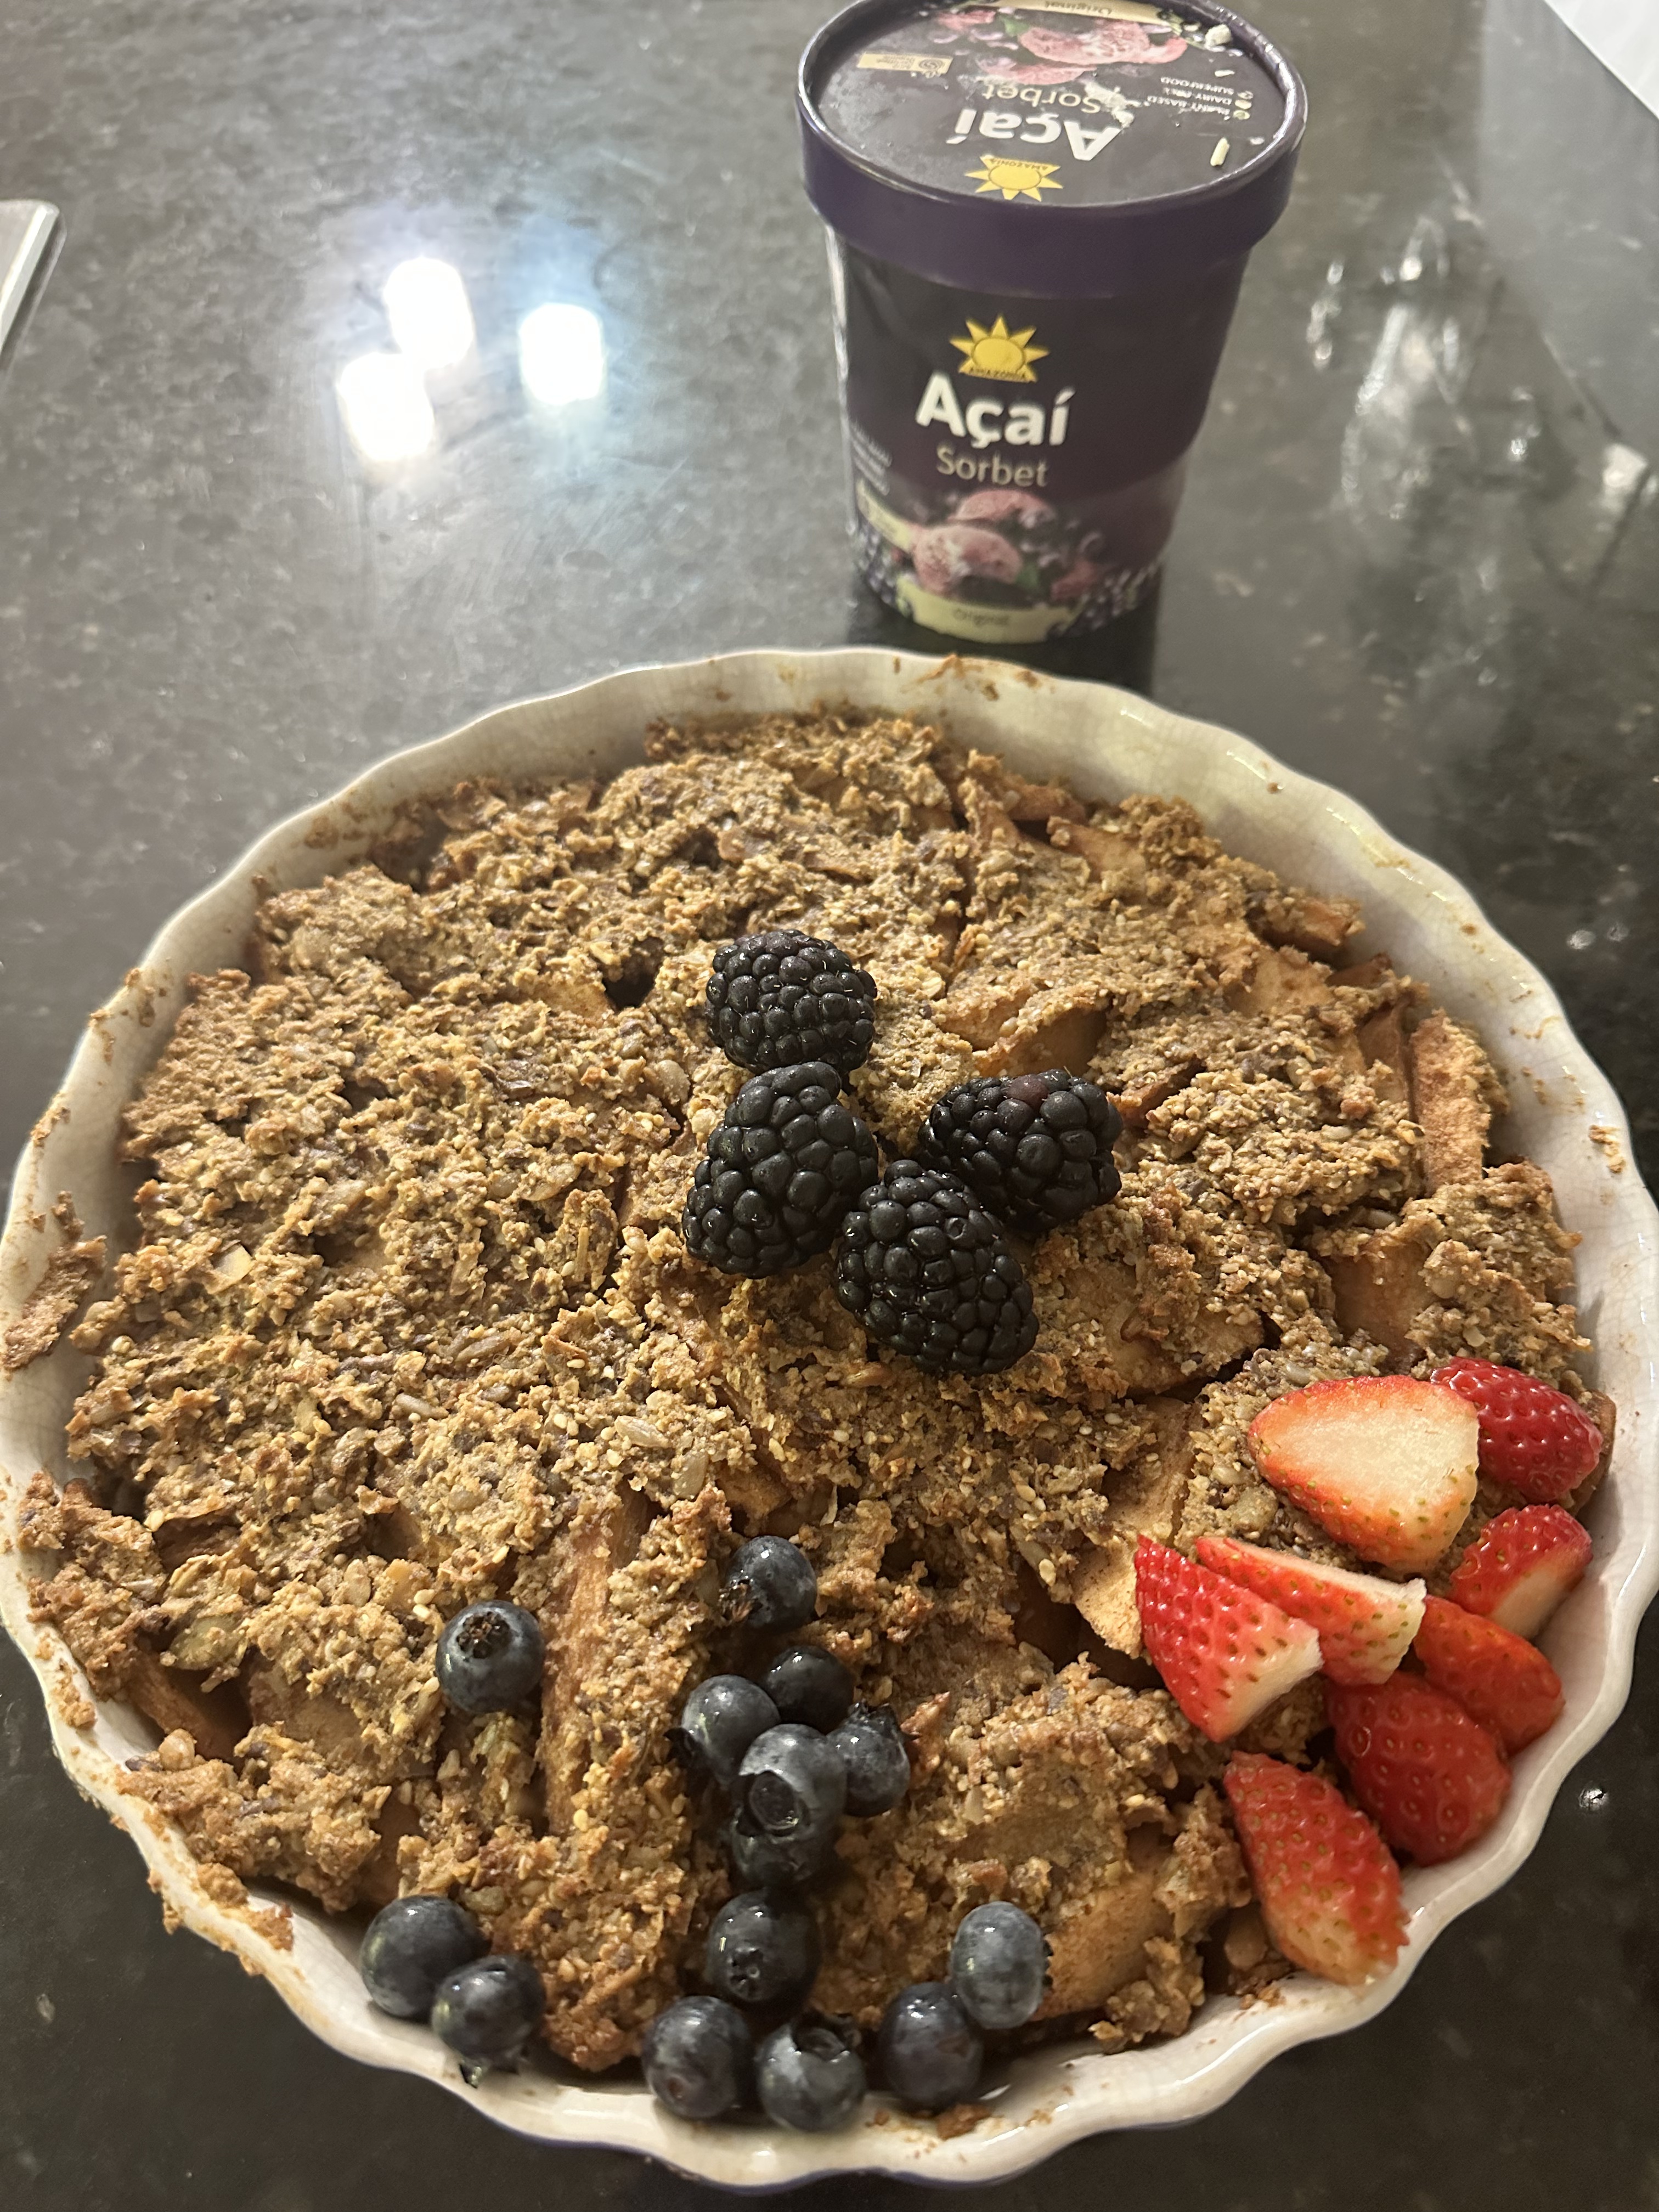
Today I have this flourless Apple pie recipe, I use granola as a base to replace the pastry.
Healthy Apple Pie
INGREDIENTS:
- 1/2 packet of paleo granola (I bought mine at Aldi)
- 150 grams unsalted butter
- 8 Fuji apples
- A pinch of cardamom powder
- 1 teaspoon vanilla essence
- A pinch of ground cinnamon
- Water, as needed
METHOD
- Preheat the oven to 200°C (392°F).
- Peel the apples, reserving the peels if you intend to make apple jam. Core the apples and cut each into six slices to ensure quicker cooking.
- In a saucepan, combine the apple slices with a small amount of water, cardamom, vanilla essence, and cinnamon. Cook over medium heat, adding water as necessary to prevent sticking. Avoid boiling; the apples should be half-cooked as they will continue cooking in the oven.
- The purpose of cooking the apples briefly is to infuse them with the spices, not to fully cook them.
- In a bowl, mix the granola with the melted butter using a wooden spoon. The mixture should be slightly sticky. Add a small amount of water if needed, then transfer it to a blender. Blend until the mixture reaches a consistency that is neither too liquid nor too dry. Adjust with additional butter or water as necessary.
- The apples should still be slightly crunchy when tested with a fork but not dry.
- If using a pie dish, pour half of the granola mixture into the dish, reserving the remaining half for topping. If a pie dish is not available, any heatproof glassware can be used. The granola can be use as a base only just make sure your apples are still moist and not dry.
- Press the granola mixture into the base of the dish using a spatula, shaping it to fit the dish.
- Layer the partially cooked apples on top of the granola base. Spread the remaining granola mixture over the apples, using a spatula to smooth the top. (As above if you prefer to not cover the apples with the granola just fill the base only)
- Reduce the oven temperature to 150°C and bake the pie. Monitor regularly until the granola is golden brown and the apples are tender when pierced with a fork.
- Serve the pie warm, ideally with coconut cream.
This healthy apple pie is an excellent dessert choice or a delightful option for afternoon tea.
ROCKY ROAD
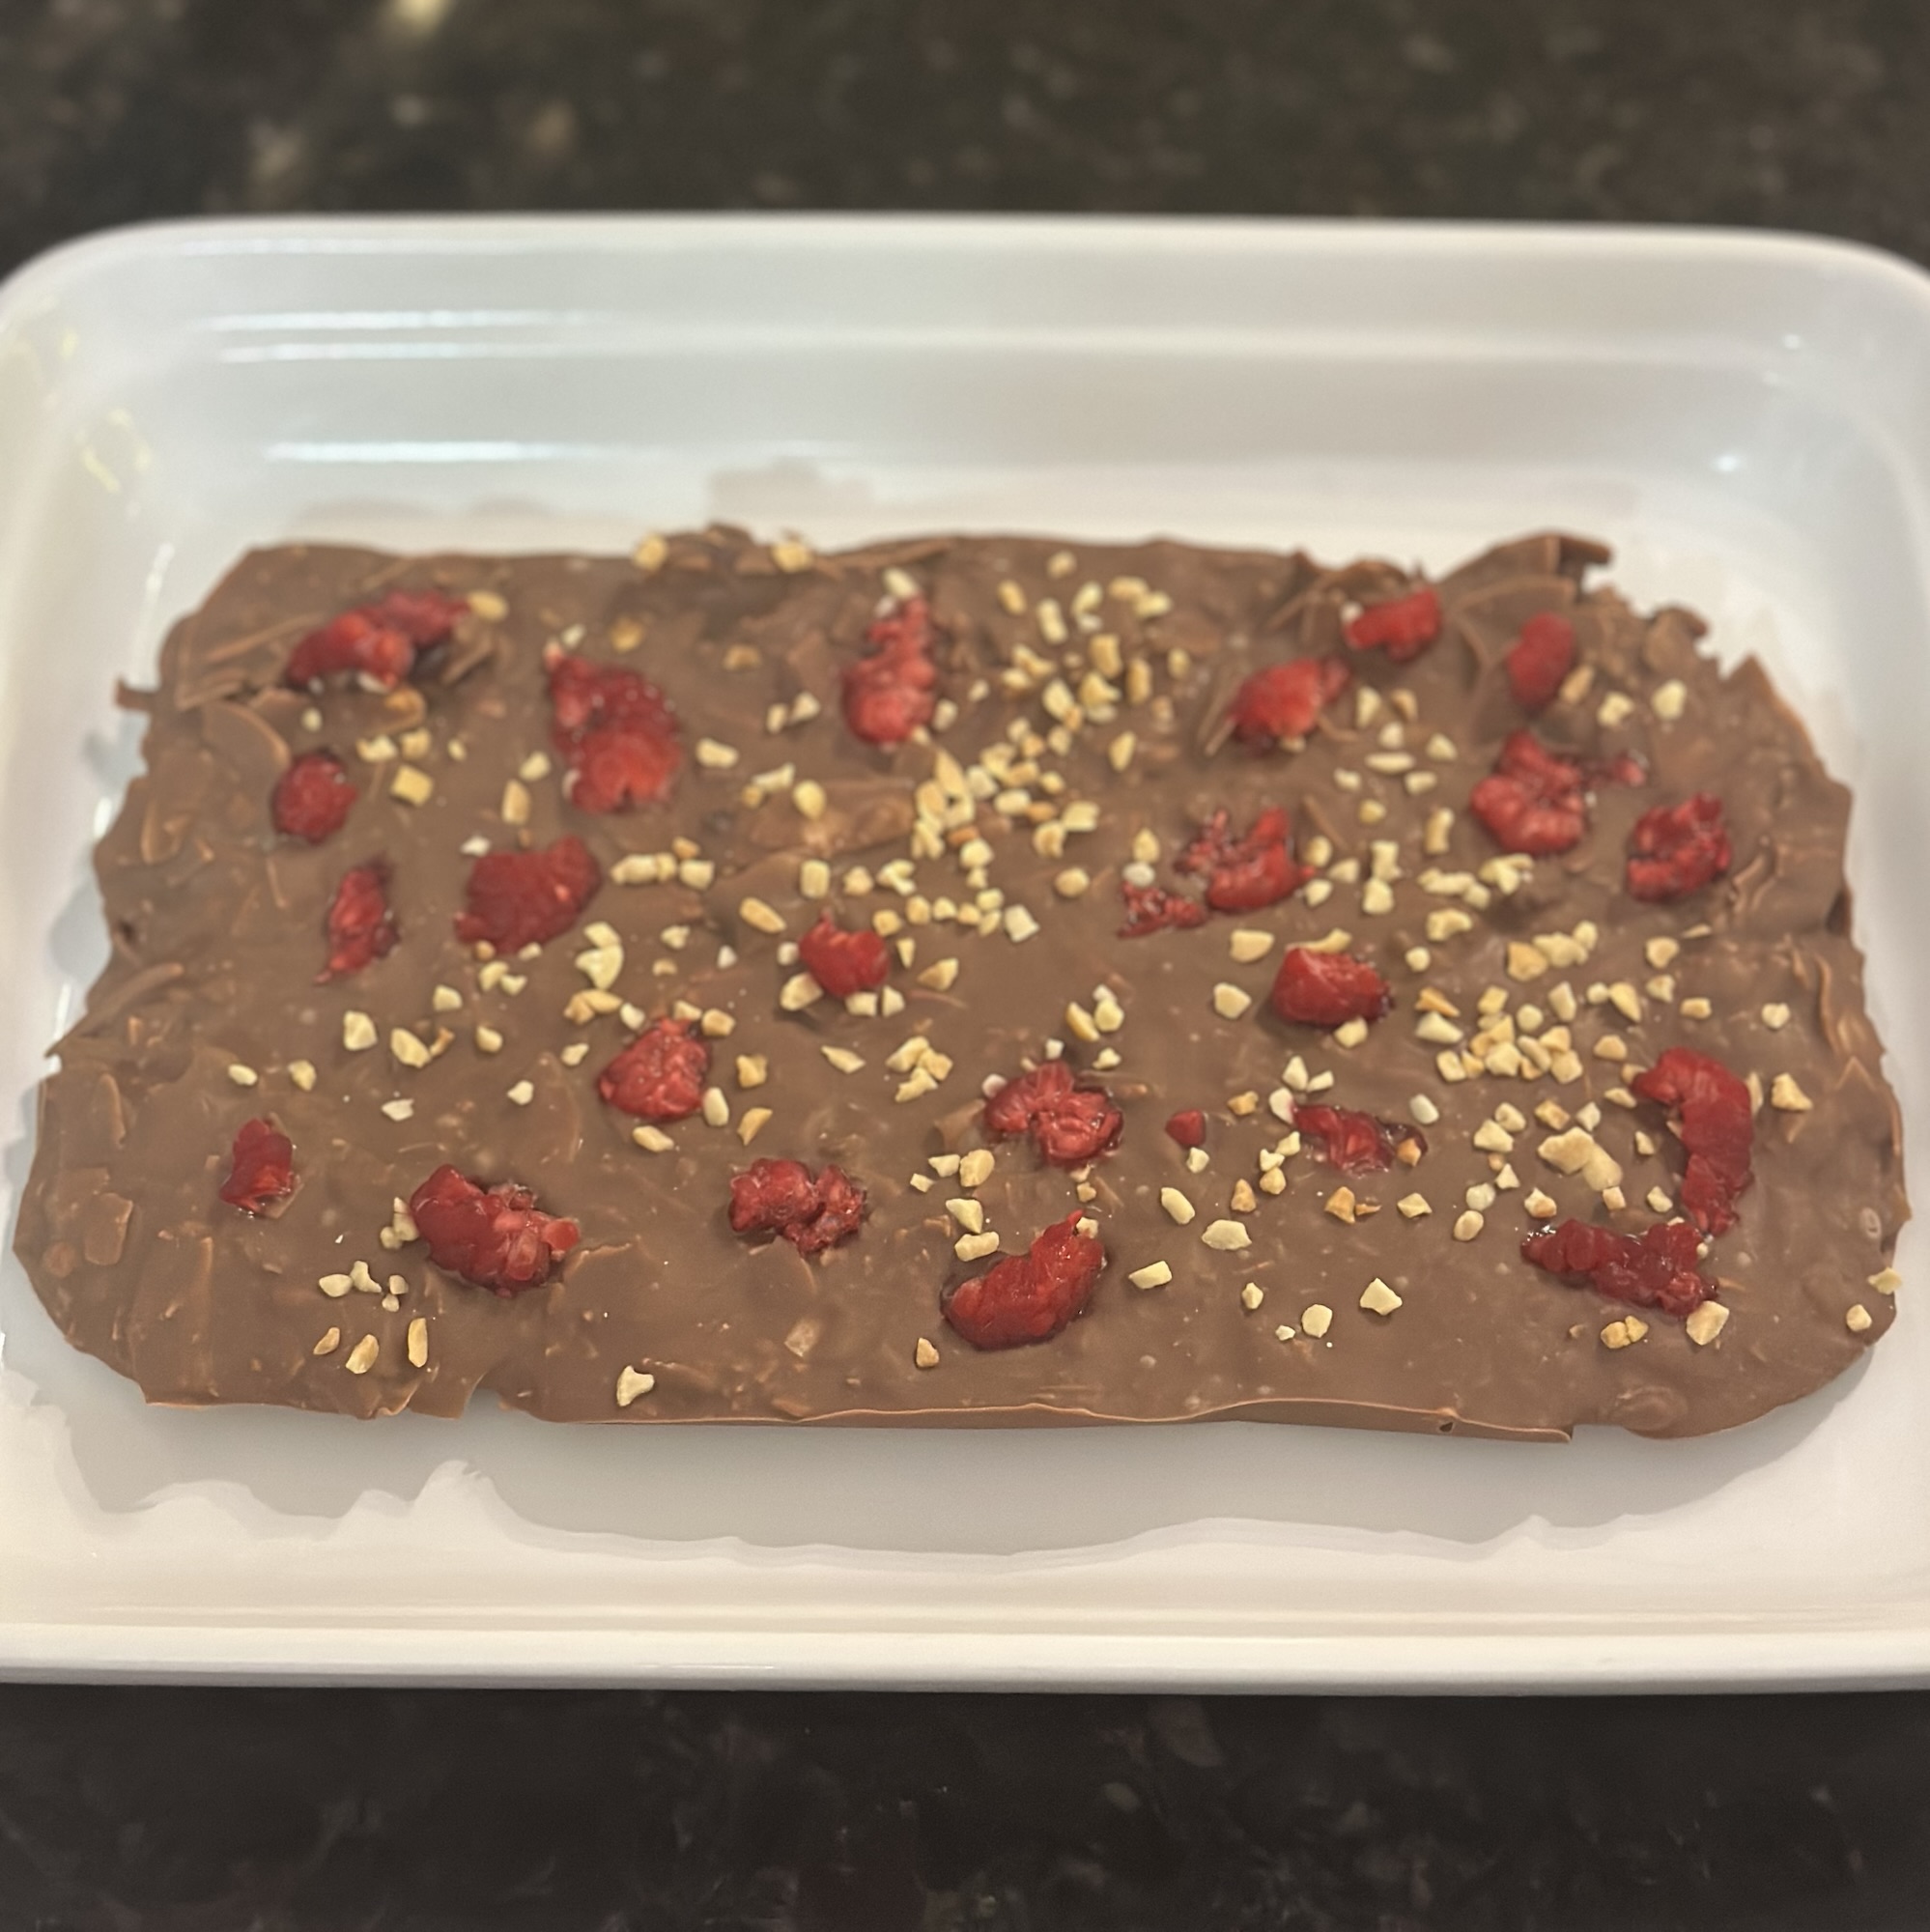
No-Bake Rocky Road: A Slightly Healthier Twist
Craving something indulgent but with a touch of freshness and less sugar? This No-Bake Rocky Road gives you the rich, creamy satisfaction of the classic treat, but with a healthy twist—swapping marshmallows for juicy fresh raspberries and coconut flakes. It’s a symphony of textures with the crunch of walnuts, peanuts, and the smooth melt of dark chocolate. Plus, it’s super simple to make!
Ingredients:
- Fresh, plump Raspberries (the star of the show!)
- High-quality Dark Chocolate (Cadbury, Choceur, or Lindt—avoid baking chocolate for the best results)
- Desiccated Coconut
- ½ Cup Coconut Flakes
- Shredded Coconut (for a beautiful garnish)
- Crushed Walnuts (for a nutty crunch)
- Crushed Peanuts (for that extra flavor pop)
Instructions:
- Prepare Your Tin: Start by greasing a rectangular baking tin with parchment paper. This will make sure your Rocky Road comes out in perfect squares!
- Melt the Chocolate: Gently melt your dark chocolate in the microwave. To avoid burning, do it in 30-second intervals, stirring well with a wooden spoon each time. Aim for about 1 to 1.5 minutes total—no more, or the chocolate might lose its perfect smooth texture!
- Mix the Goodness: Once your chocolate is glossy and lump-free, stir in a spoonful of desiccated coconut, half a cup of coconut flakes, crushed walnuts, and peanuts. Use a spatula to blend everything together until it’s all evenly coated.
- Pour and Flatten: Pour your velvety chocolate mixture into your prepared tin. Smooth it out with your spatula until it’s evenly spread.
- Add the Fresh Touch: Quickly sprinkle fresh raspberries over the chocolate before it hardens. Then, top it off with extra crushed walnuts and a generous dusting of shredded coconut. The contrast of the fresh berries against the rich chocolate is just the right touch!
- Chill and Set: Pop the tin into the fridge and let it set for at least 2 hours. Patience is key—this is what gives you that perfect, firm texture.
- Slice and Store: Once set, cut into small, bite-sized squares. Store them in an airtight container for up to 3 days (if they last that long!).
Why You’ll Love It:
This No-Bake Rocky Road offers all the decadence you crave, but with the refreshing zing of fresh raspberries, the crunch of nuts, and the smoothness of dark chocolate. Perfect for a healthy-ish sweet treat that doesn’t compromise on flavour!

